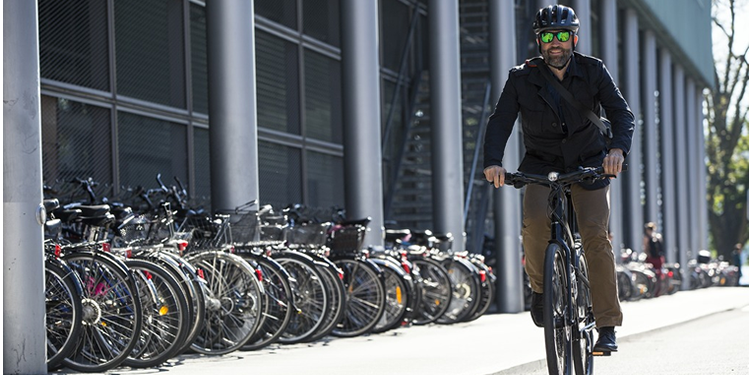
Let us get back to basics. Changing a tyre and/or fixing a puncture is something that every cyclist, no matter how experienced, will have to face at some point. You may have the best tyres, do your utmost to avoid potholes and meticulously prune your tyres for undesirable objects, however, the day will come where you have to come to terms with the fact that you have a puncture. Maybe you’ve cycled over a carelessly disposed glass bottle or caught the end of a spiked vine, whatever the case you’ll start to feel as if the bike has suddenly become almost… sluggish, as if it’s somehow consumed a good few pints. You survey your surroundings, eyeing your tyres suspiciously, trying to determine whether it is, in fact, a puncture or you just didn’t pump your tyres up pre-ride. Then the moment comes when you finally concede to the reality that your slowly losing air. At this point (post swearing), it’s best to find a safe spot to pull over and set about fixing the thorn in your side (or tyre).
Now, if you’re the type of cyclist that prepares an ’emergency kit’ prior to heading out, you will have a full puncture repair kit which consists of – tyre levers, a piece of chalk/crayon, a spare inner tube, puncture patches, glue, sandpaper and a pump/co2 canister. But for argument’s sake, let’s say you have no spare tube, so you’re resigned to fixing the puncture and continuing on the same tube. While tyre levers are not a necessity for removing a tyre, it certainly helps and keeps your fingers from getting sore, we’re going to assume that you have a pair.
Getting your bike set
Puncture in the rear? Make sure you change gears until you’re in the small ring at the back (this is better for your bike when you remove the wheel). Then flip the bike upside down, this isn’t essential but helps considering you’re riding solo. Make sure it’s rested on the saddle and handlebars.
Removing the wheel
If you have rim brakes you may have to undo your brake to remove the tyre. Sidepull brakes have a little lever on the calliper that opens the brake further. With V-brakes, the J-shaped metal ‘noodle’ unhooks from the yoke. With cantilever brakes, the cable unhooks from one brake arm. If you’ve got disc brakes, you don’t have to do anything. Remove the wheel by undoing the quick release and pulling the wheel smoothly out, if it’s a rear-wheel, pull the derailleur back out of the way and lift the wheel up and out.
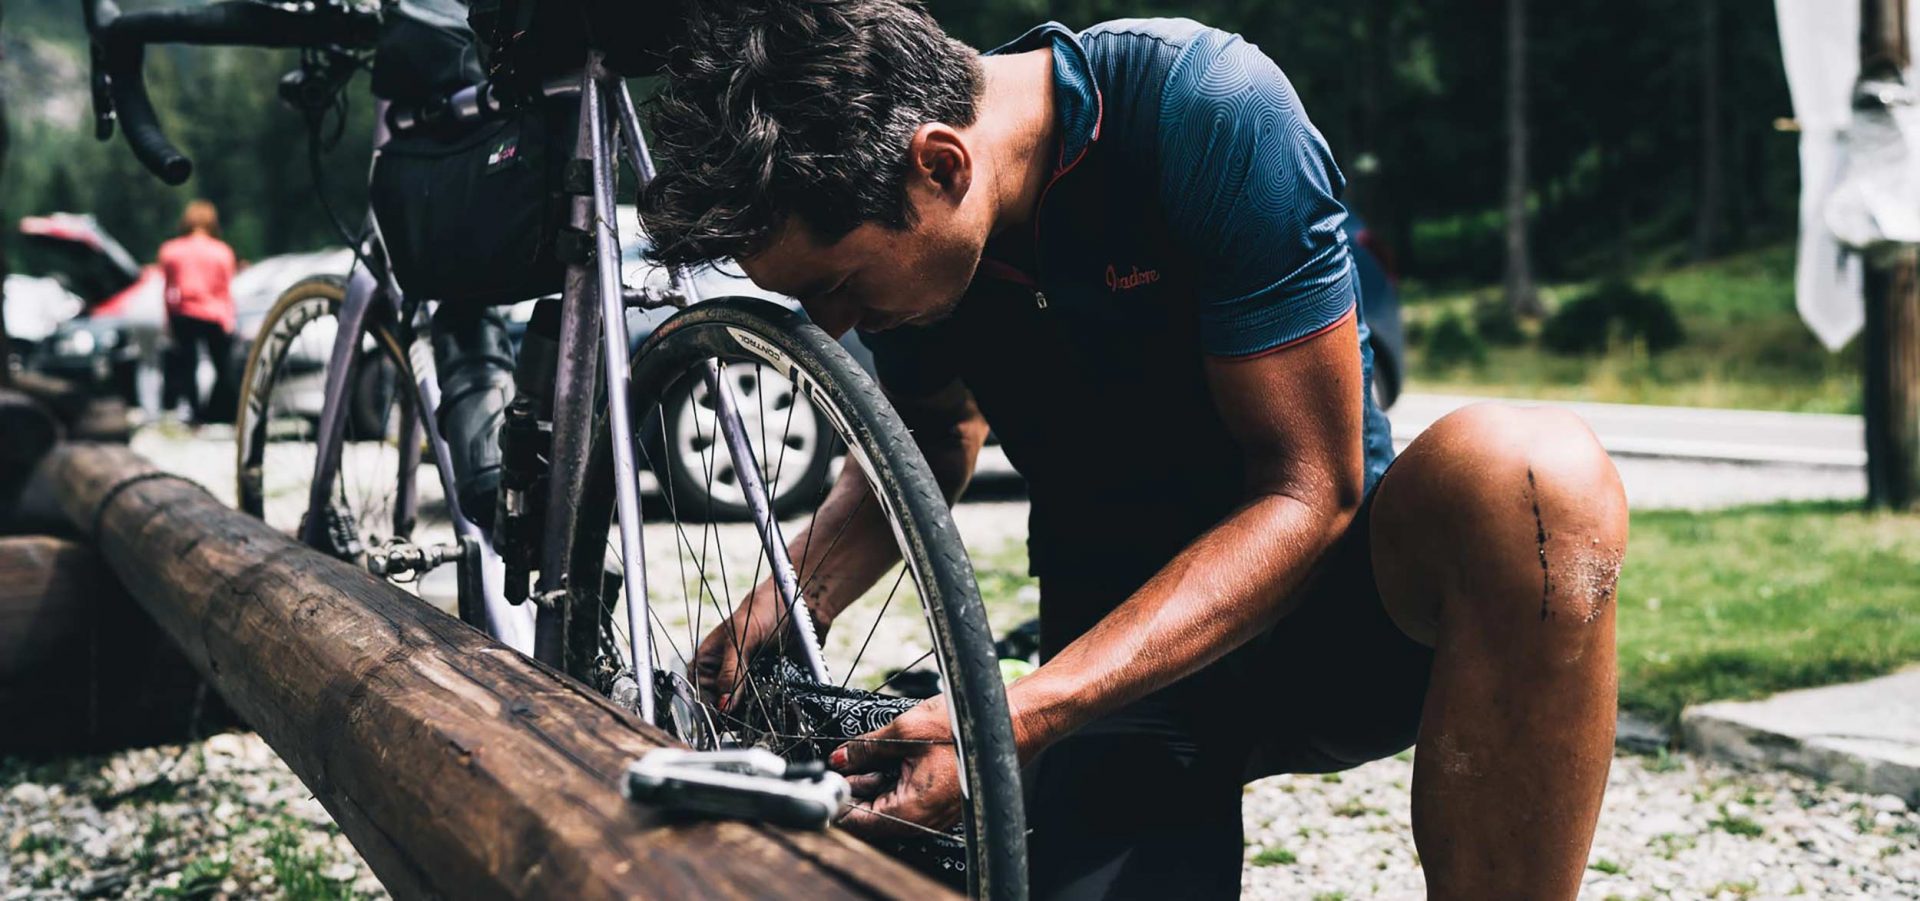
Tyre off and innertube out
Insert the first tyre lever under the edge of the tyre (the bead) and work it off the rim. Either hold this lever or slot the end behind a spoke. Insert the second tyre lever about 10cm away on the same side. Lever up the bead, then run the second lever around the rim, lifting off the tyre completely on one side only. This may take a few tries to get it right. Remove the valve cap and locking ring, if any, then remove the tube.
Finding the puncture, fixing the puncture
If you’re…erm…lucky! You’ll be able to see the offending hole that caused the puncture, however, it might not be so easy. The best bet is to pump up the tube and move the tube around listening carefully for a soft hissing sound. When you think you’ve found it place a finger over the hole and feel for the releasing air, mark the hole with a cross using the chalk/crayon and grab the sandpaper. Rough up the area and spread the glue over an area that’s larger than the patch with your finger, and then leave it to dry for at least five minutes. Don’t do anything else until it’s totally dry – otherwise, you won’t fix your puncture. Peel off the foil backing, apply the patch, making sure it’s centred over the hole. Press down firmly for a minute, and then remove the backing, being careful not to lift the edges of the patch. Inflate the tube and make sure there’s no air escaping, if there’s a hole under one edge of the patch, remove it and start again. You’ll need to roughen the tube more thoroughly, and let the glue dry for longer.
Check the tyre, check the tyre, check the tyre
CHECK THE TYRE. I for one have experienced the sheer frustration of fixing my puncture, putting everything back together only to ride 500m down the road and get another puncture because I hadn’t removed the original culprit. Run your fingers carefully inside the tyre to see if the sharp object is still there. If so, remove it – a knife helps. If you don’t find anything, feel around the rest of the tyre just in case. Hopefully, it’s already fallen out.
Putting it all back together
Place the inner tube back in the wheel with it half-inflated. This will help the process of putting the tyre back on the wheel and not catching the inner tube between the tyre and rim – something which will save you time and the frustration of another blown tube. Work your way around the tyre, holding one hand at a point and working the tyre into the rim. If your tyre is being stubborn turn the tyre levers over and leverage the tyre back over the rim, being careful not to pinch the inner tube against the rim. After some exasperating noises and lots of elbow grease, you’ll have it back in place ready to pump up and put your wheel back on.
This is the best way to fix a puncture on a commute. A brand new inner tube will have your bike good to go again in no time (no need to take into a shop for a service). However, there may be times where you get a puncture and you don’t have a new inner tube on you.
Disaster averted, following these easy steps you’ll be a master of changing a tyre or fixing an inner tube in no time. Saves those embarrassing phone calls to the other half or best friend, begging for a lift ‘Yeah, you know the roundabout near the layby? The one near that place we had a roast in once? Erm, you know the one, it had the dead badger on the road?’ Nah, neither do we.
To view our range of puncture repair kits: https://www.99bikes.co.uk/puncture-repair