So you’ve received your new bike from us, exciting times are ahead! All of our bikes are pre-built and tested so there are just a few tasks to complete before your bike is ready to ride.
Before assembly, thoroughly check over the bike for any damage that may have been caused in transit. Next, clear a safe and suitable workspace to avoid any damage to the bike or your surroundings.
TOOLS REQUIRED
- Hex wrenches
- Torx wrenches
- Torque wrenches
- Pedal wrench (where required)
- Handbook
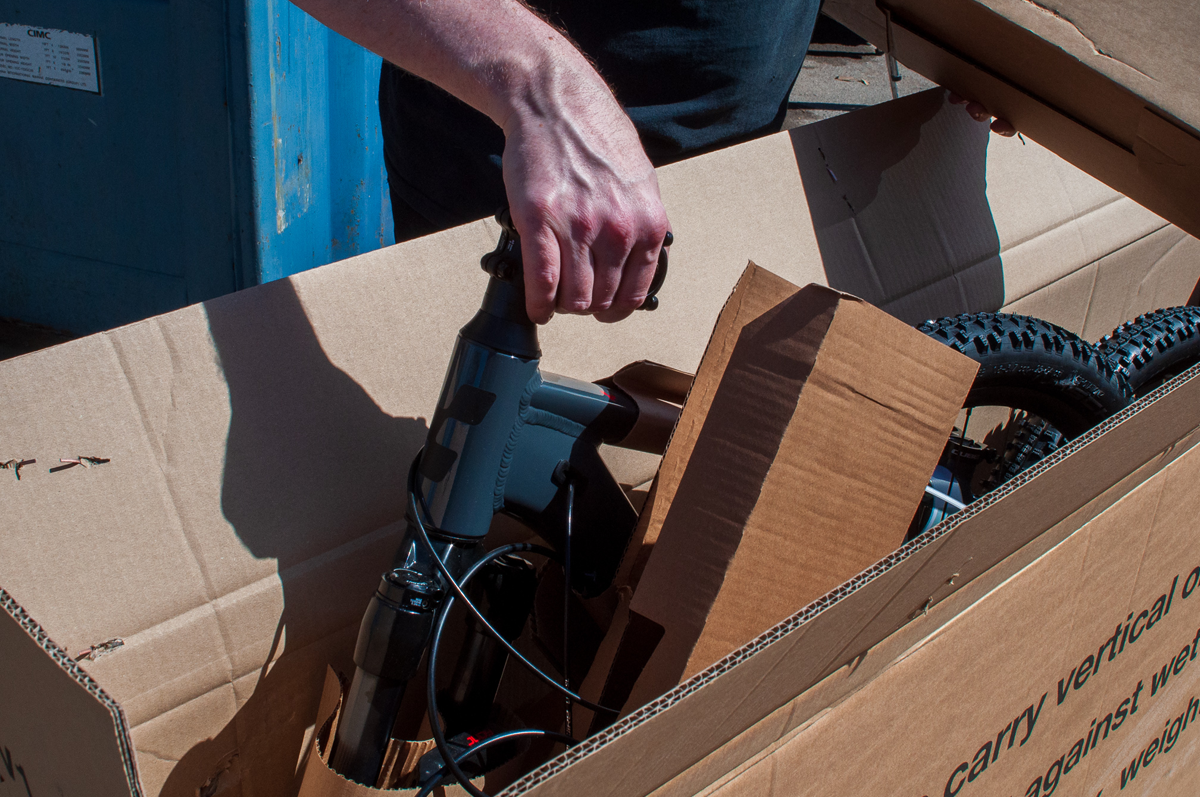
1. OPEN THE BOX
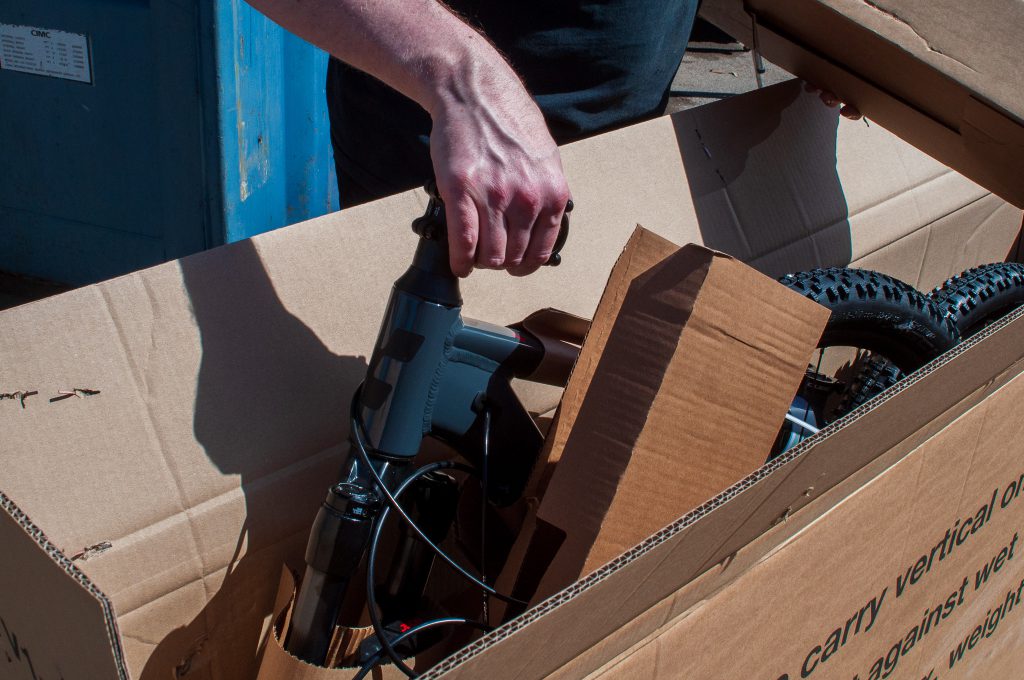
Carefully remove all packaging and zip ties from the cycle. If using any sharp objects be careful not to damage the contents of the package.
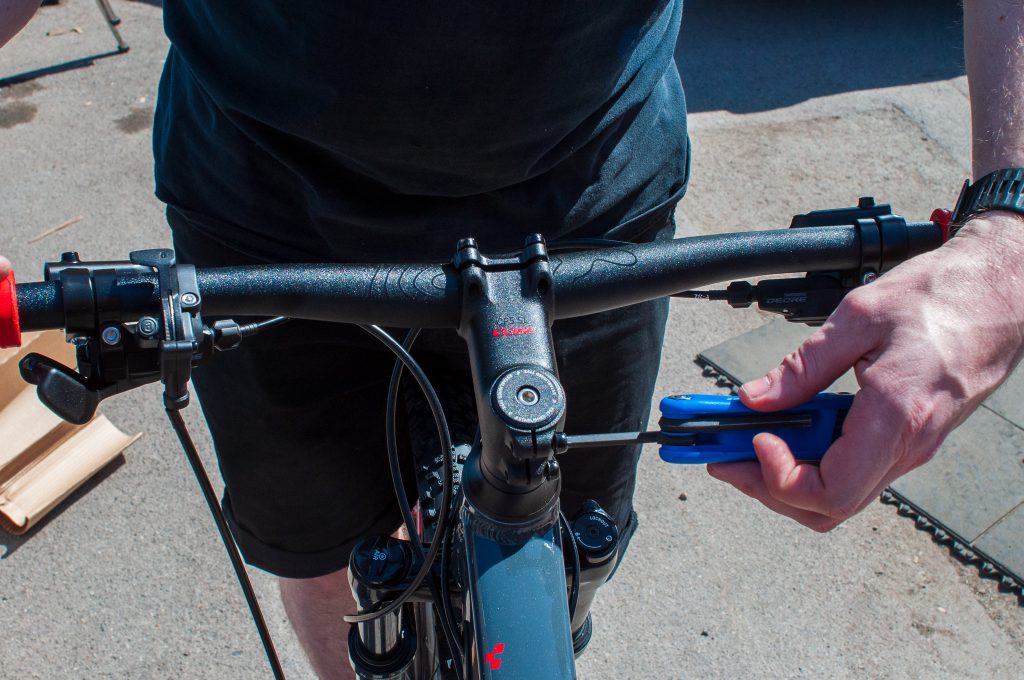
2. ATTACH HANDLEBARS
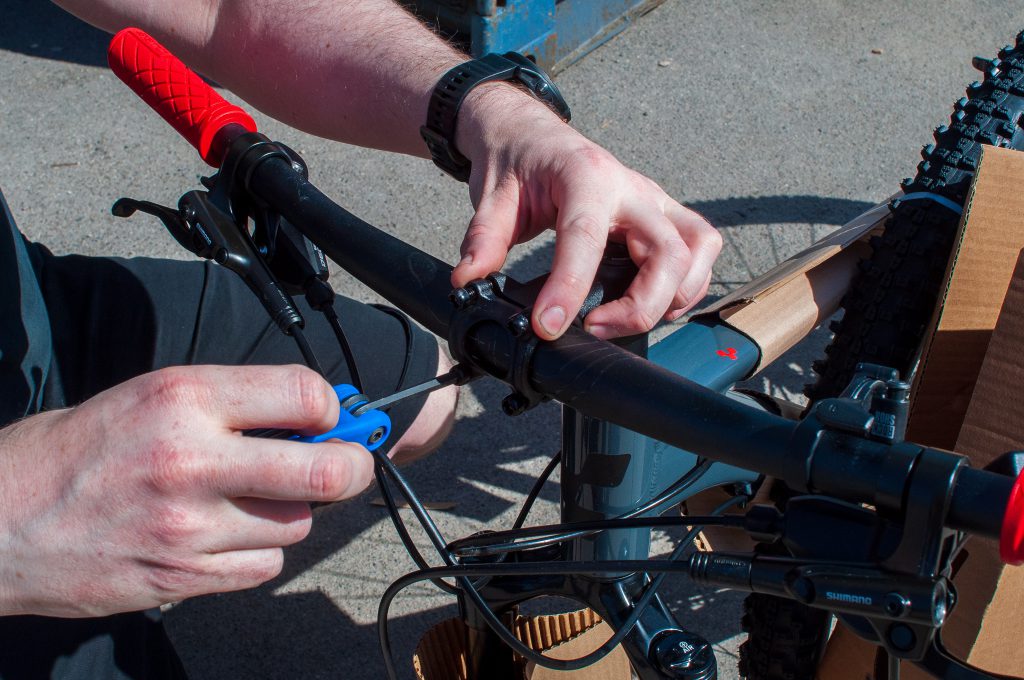
Fit handlebars to front of stem and evenly tighten faceplate over bars using a 4/5 mm Allen key to manufacturer’s torque settings.
3. INSTALL FRONT WHEEL
Identify your brake type and wheel attachment system and follow the specific instructions found below.
BRAKE TYPE
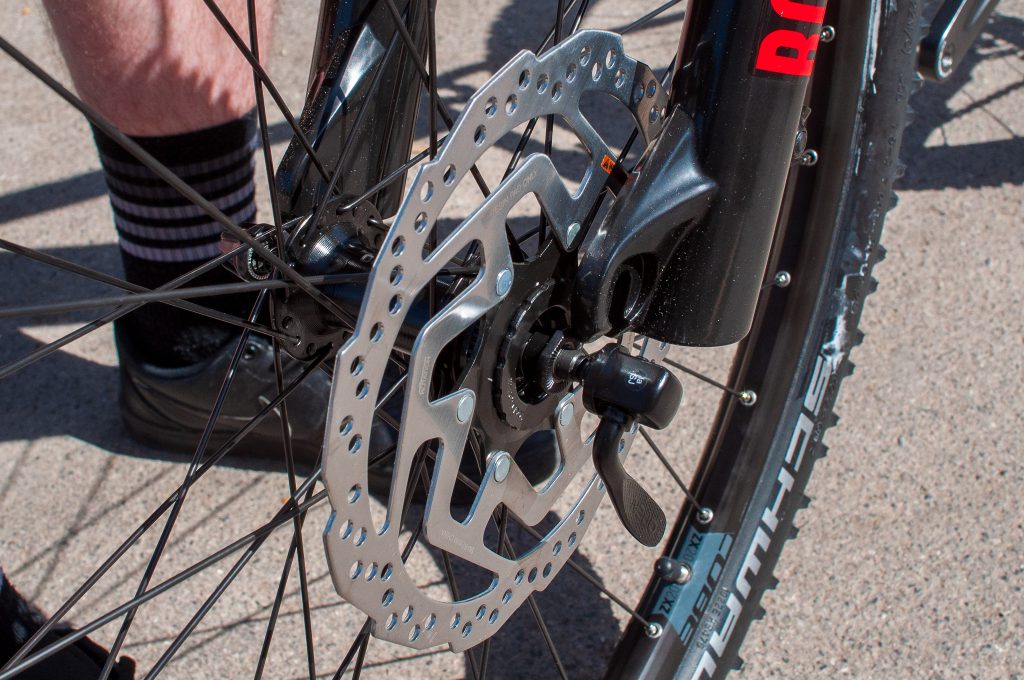
DISC BRAKE:
Remove the disc brake spacer from the caliper. This is a plastic spacer keeping the pads separated for the disc to locate between. After the spacer is removed, before the wheel is installed, DO NOT squeeze the front brake lever.
Lift the fork and position the front wheel under the fork. As you lower the fork, carefully position the wheel so that the brake rotor fits between the pads in the brake caliper. Then, lower the fork further and align the hub axle ends with the fork dropouts.
V-BRAKE:
Temporarily disconnect the curved brake cable guide from the bracket that holds it. After you disconnect, the brake arms will spring outward, creating more space for the wheel.
Lift the fork and position the front wheel under the fork. First align the wheel so that the tyre fits between the brake pads. Next, lower the fork further and align the hub axle ends with the fork dropouts.
RIM BRAKE:
Locate the front brake quick release lever on the brake caliper. Move this lever up. You will see this causes the caliper arms and brake pads to spring outward, opening up to create more space for the wheel to pass through.
Lift the fork and position the front wheel under the fork. First align the wheel so that the tyre fits between the brake pads. Next, lower the fork further and align the hub axle ends with the fork dropouts.
WHEEL ATTACHMENT SYSTEM
THRU AXLE:
If your bike has a thru-axle it will generally be already installed in the forks of your new bike when it arrives. Simply undo the bolt end and slide the axle out of the forks. Insert your front wheel into the forks and slide the thru-axle back through the dropouts and hub. Then re-attach the bolt you removed at the beginning torquing to the manufacturer specification.
QUICK RELEASE QR :
The quick release assembly will be in the small parts box. Remove the adjusting nut and the first conical spring. Insert the skewer through the hollow axle in the centre of the hub.
Reinstall the conical spring over the threaded end of the skewer, small end first. Be sure that the quick-release lever is positioned on the opposite side of the brake disc. Reinstall the adjusting nut, threading it onto the threaded end of the skewer. A few turns are enough at this stage. The critical final adjustment will be made after the wheel is installed in the fork by moving the lever to the ‘closed’ position, this should be achieved without using too much force.
NUTTED:
The nutted axle is one where outer hex nuts are used to hold the wheel axle in the dropouts. When installing a bolt on axle, you may have to turn the nuts anticlockwise and spread the axle washers out to create some space on the axle so that it fits into the fork dropouts. The blades of the fork should fit securely between the inner and outer nuts.
4. FIT FRONT BRAKE RIM BRAKE
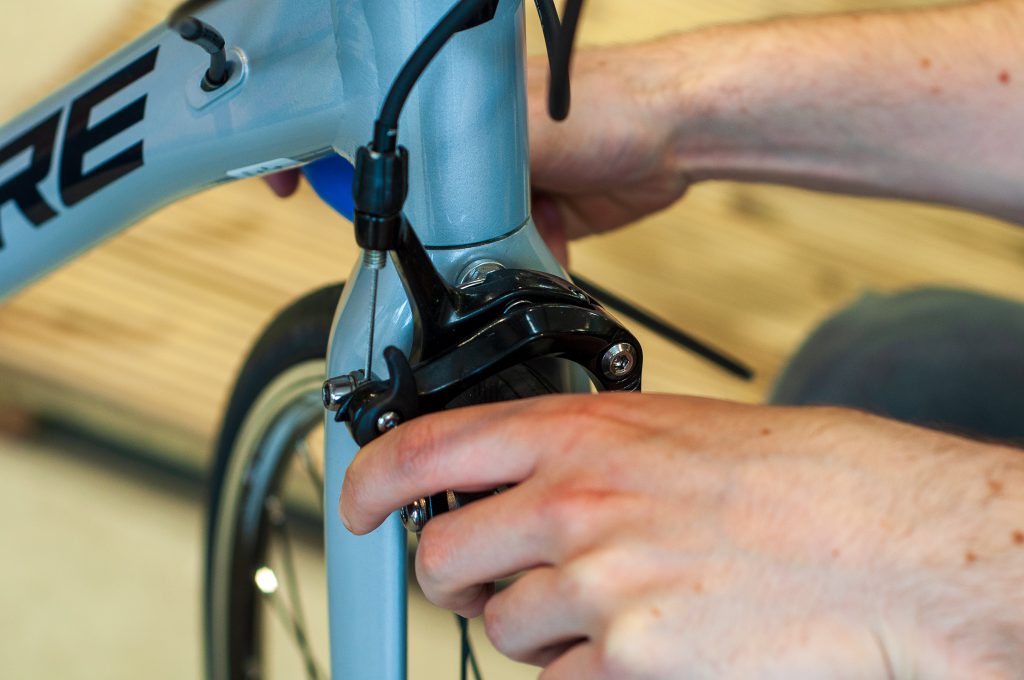
Re-connect front brake using 5mm Allen key to manufacturer’s torque settings. Make sure brake blocks are an even distance from the rim and brake cables are not wrapped around the frame which restricts the movement of the forks.
5. FIT YOUR SADDLE
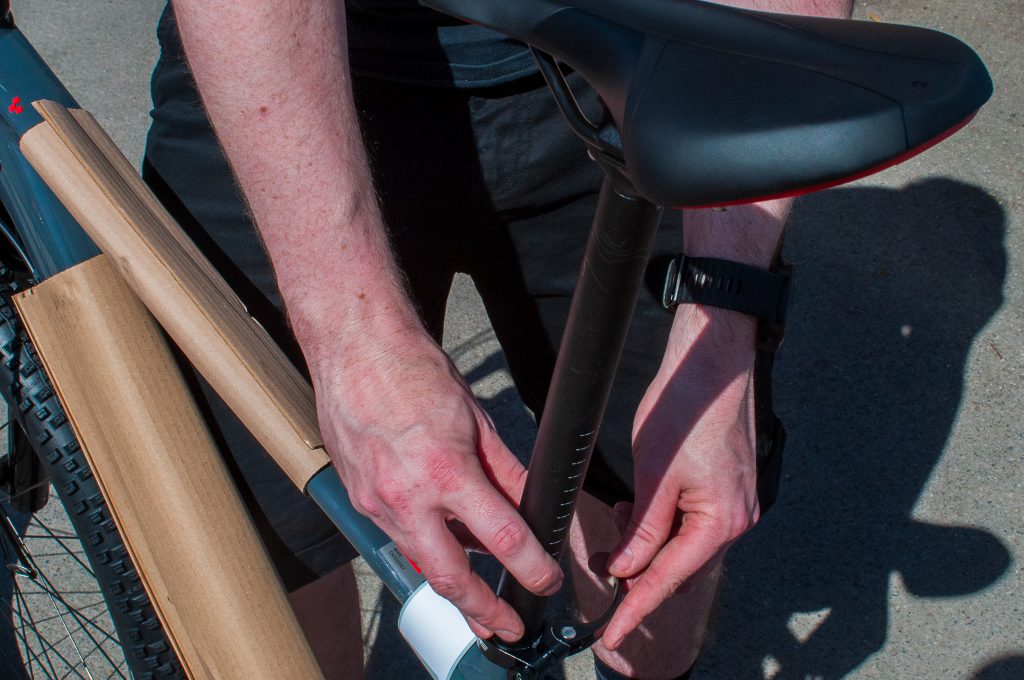
Insert seatpost and saddle to the seat tube of the cycle. Set the saddle to the correct position and tighten to manufacturer’s torque settings.
6. RECORD FRAME NUMBER
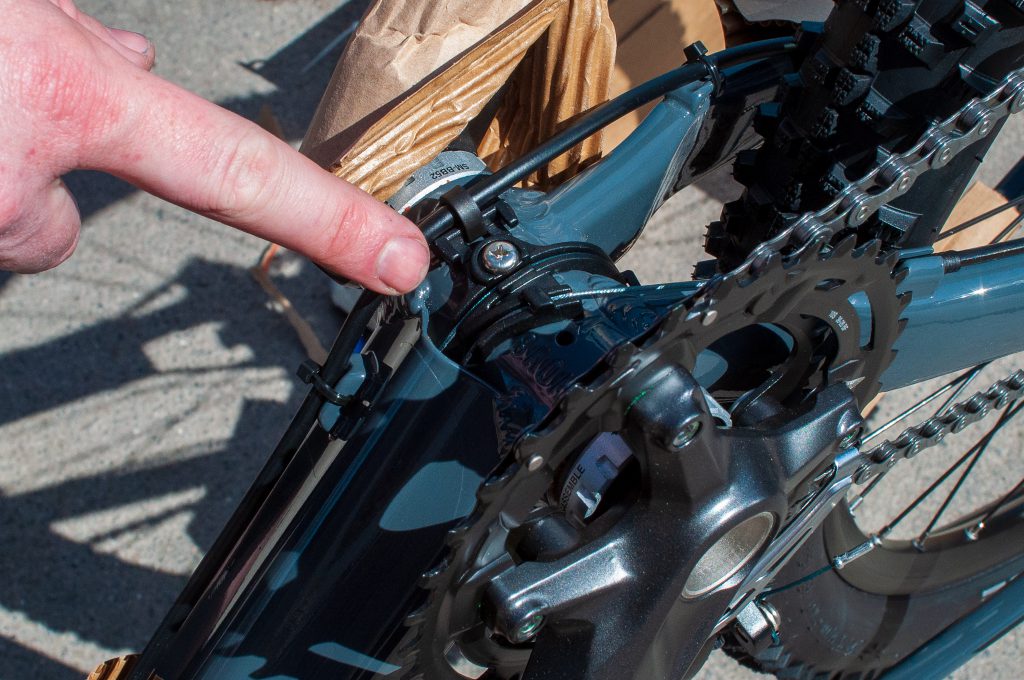
Take note of the Frame Number which is usually stamped on the underside of the Bottom Bracket shell. This is used for insurance purposes and may be required if the bike is stolen.
7. FIT YOUR PEDALS
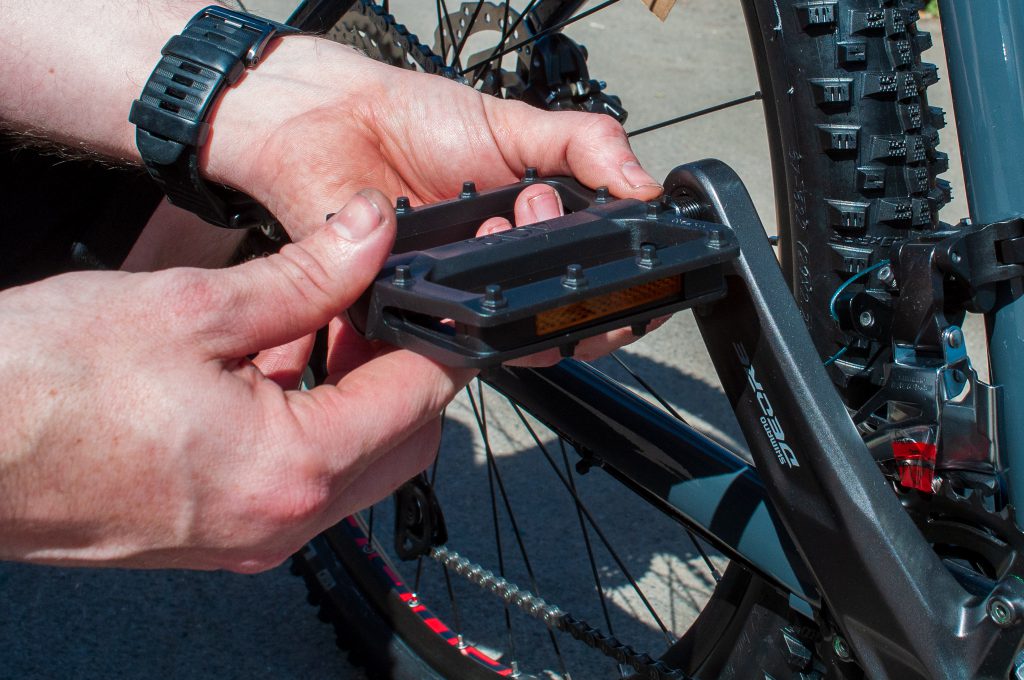
Fit pedals to crank arms with a 15mm spanner or Allen key depending on pedal type. With the wheels on the ground, install the right pedal(R) to the right side crank arm (side with gears) left (L)pedal to non geared side. Pedals are marked on their axles with L & R. When looking at the crankset straight on, right hand pedal tightens clockwise, left hand pedal tightens anticlockwise. Be careful NOT to cross the threads of the pedals in the crank arm – initially use your fingers to make sure the pedals thread in smoothly – they should initially thread in easily with little resistance. Make sure the pedals are VERY firmly tightened – you should use your full weight on the spanner to ensure this. Incorrectly installed pedals will ruin your crankset. If you are unsure please call us to speak to one of our mechanics before you attempt to ride the bike. We WILL NOT be held responsible for incorrectly installed pedals – all of our bikes are pre built, tested and checked (including pedal fitment).
8. FIT REFLECTORS
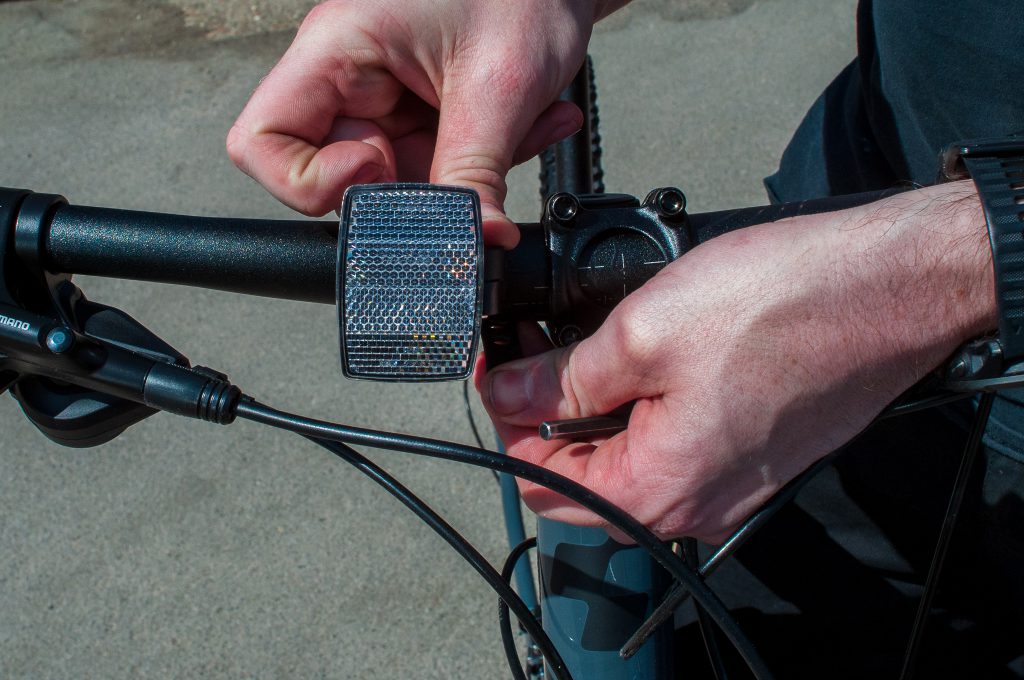
Now fit reflectors to forks or handlebars (white) and to seat pin (red).
9. FINAL CHECKS
Make sure that bars, pedals and seatpost are tight and in the correct position to manufacturer’s torque settings. Check the brakes and gears are working and wheels are secured before riding.
10. ENJOY!

After the initial ride check all nuts on bike are tight, especially handlebars, stem, pedals, wheels and brakes to manufacturer’s torque settings. For additional information refer to the owner’s manual.